How To Download Pictures From Iphone To Macbook Air
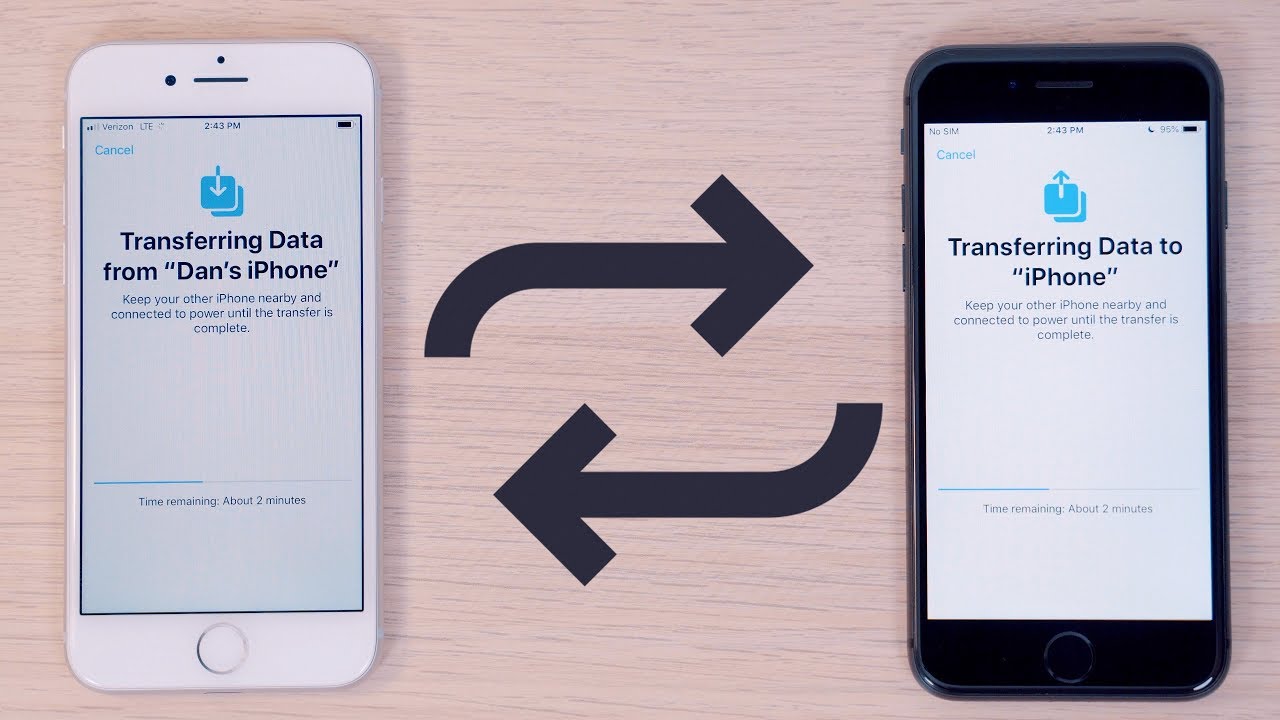
Transfer Photos And Videos From Your Iphone Ipad Or Ipod
Transfer Photos And Videos From Your Iphone Ipad Or Ipod

Guide How To Transfer Photos From Iphone To Macbook Air In 3

How to transfer photos from iphone to macbook.
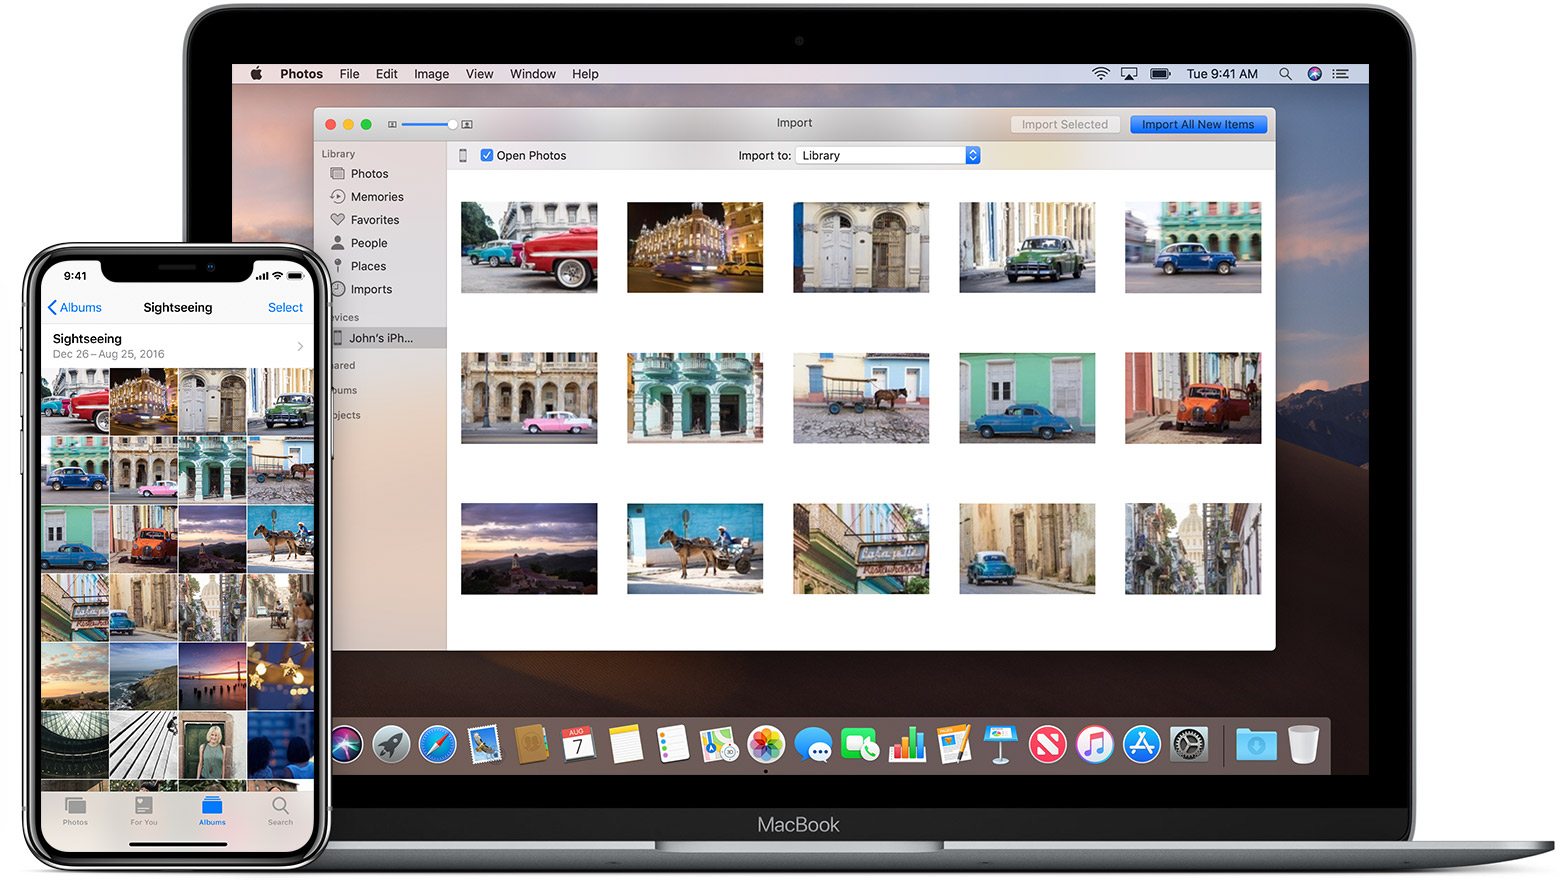
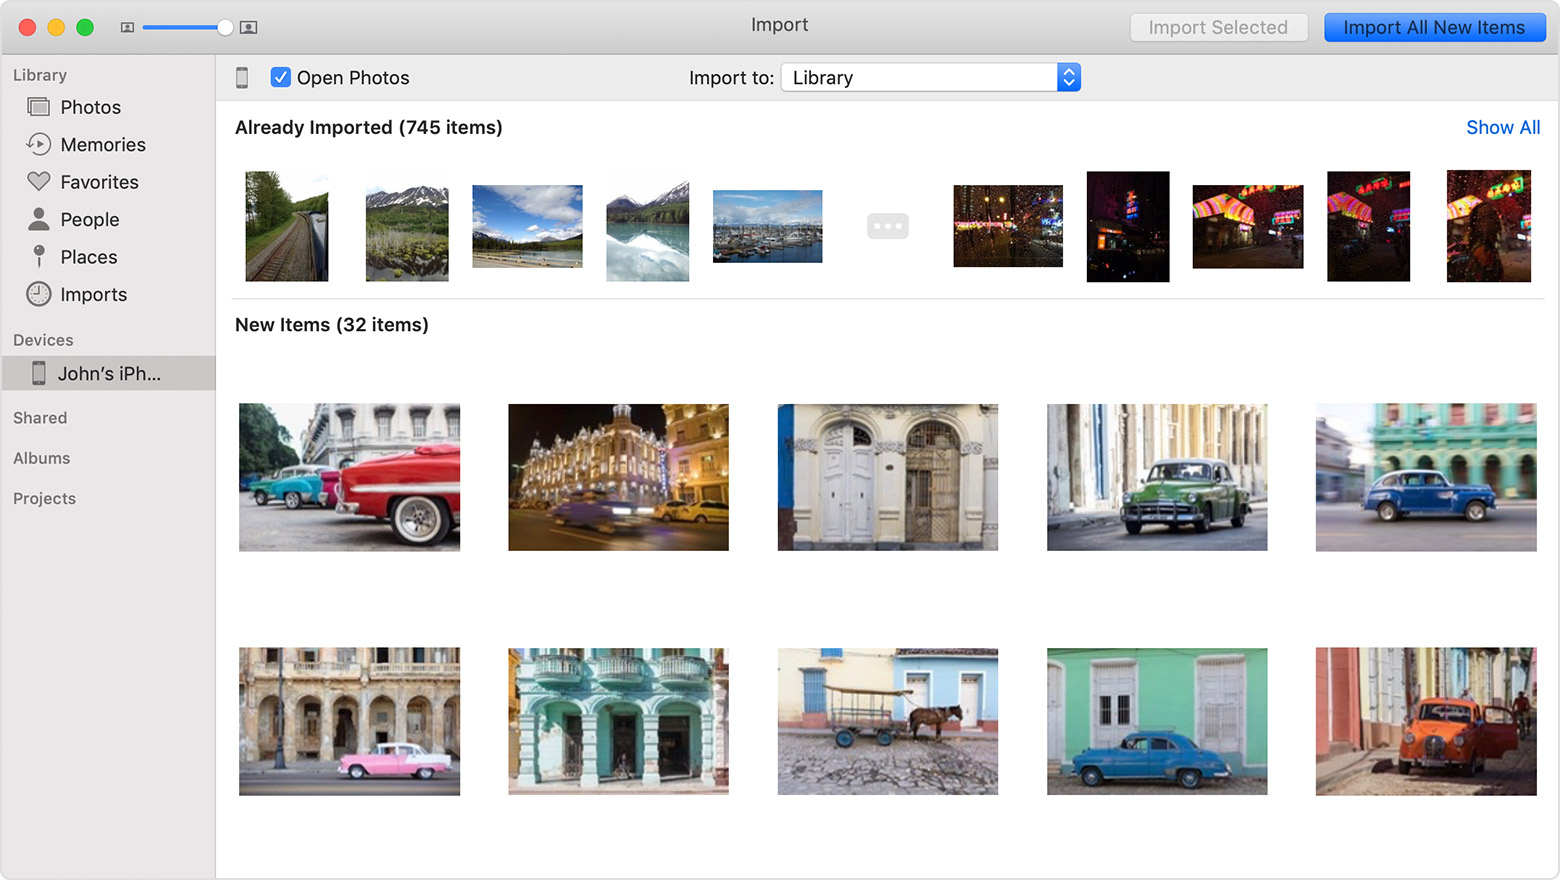
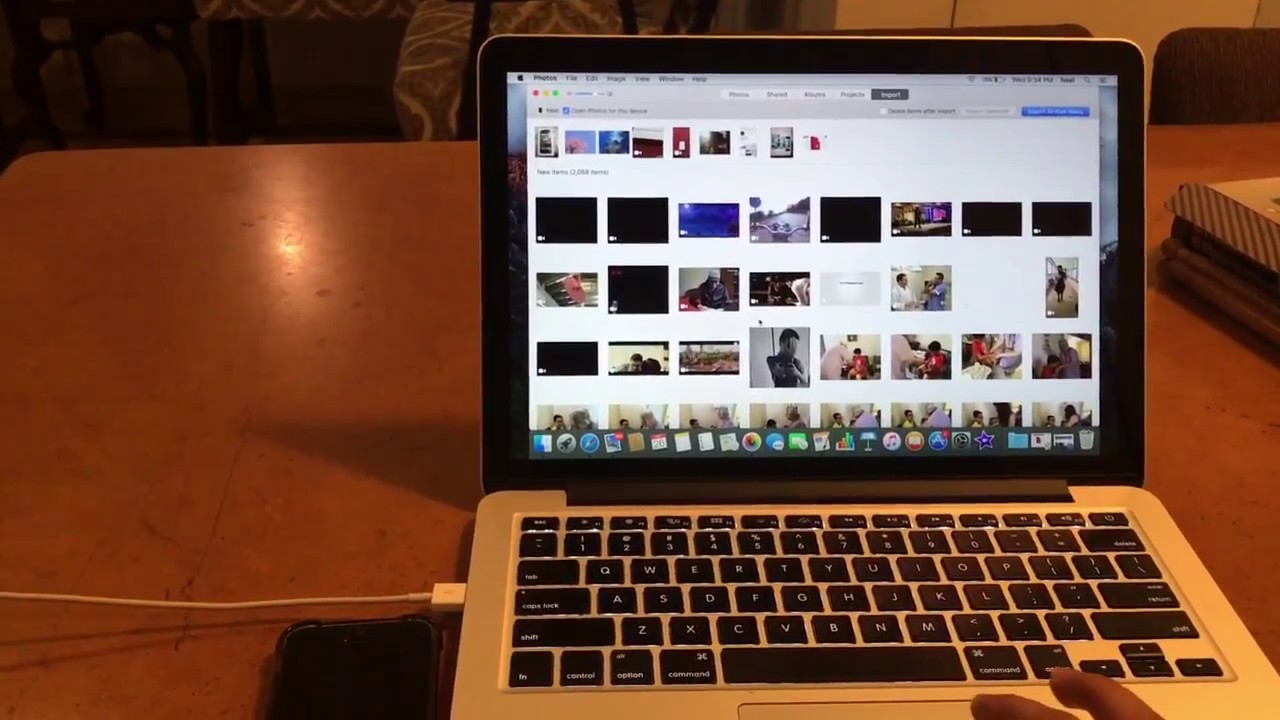
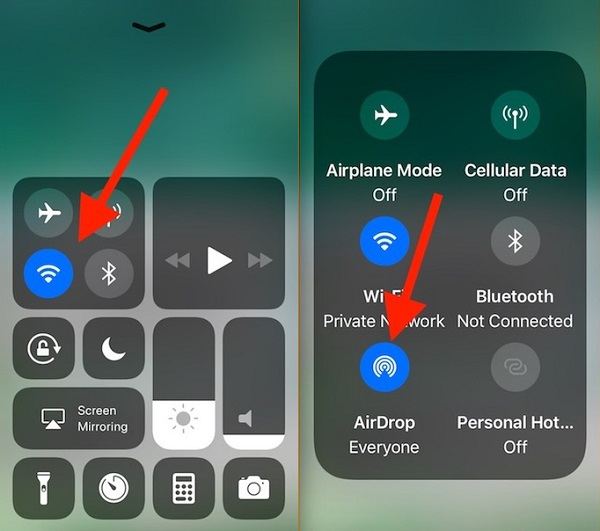
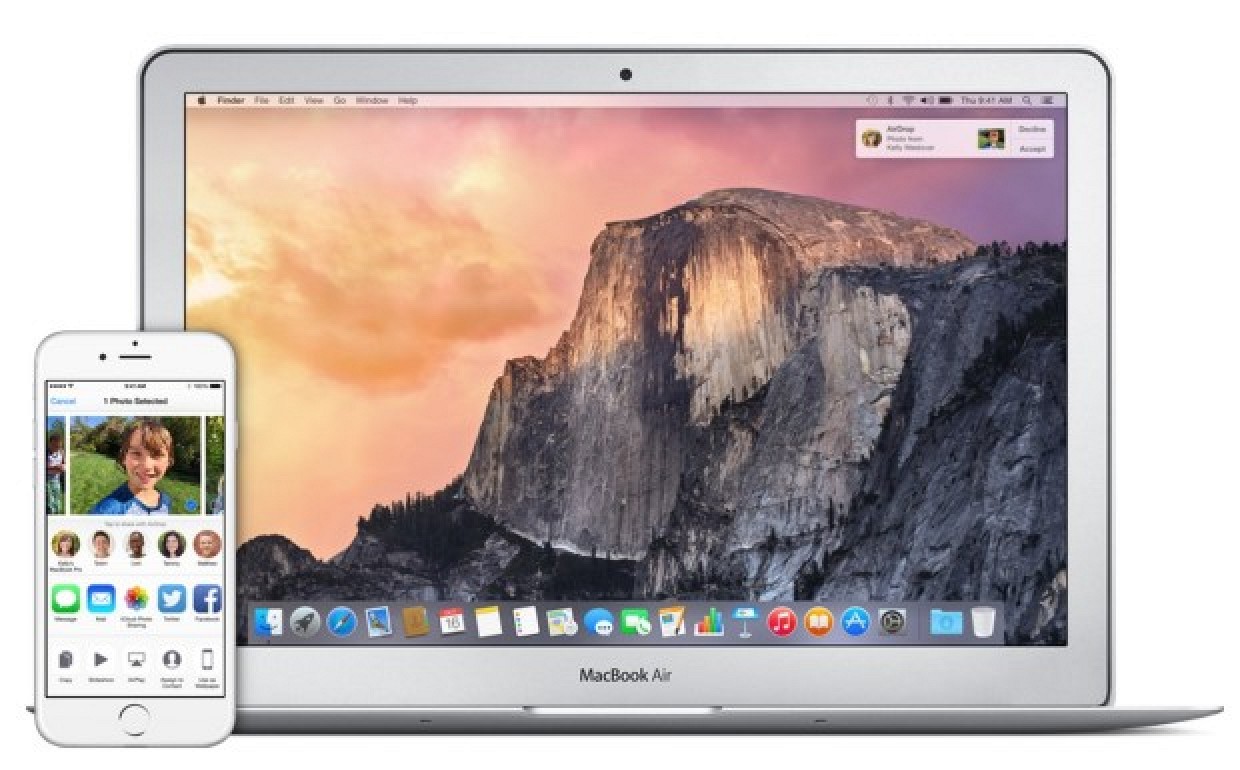
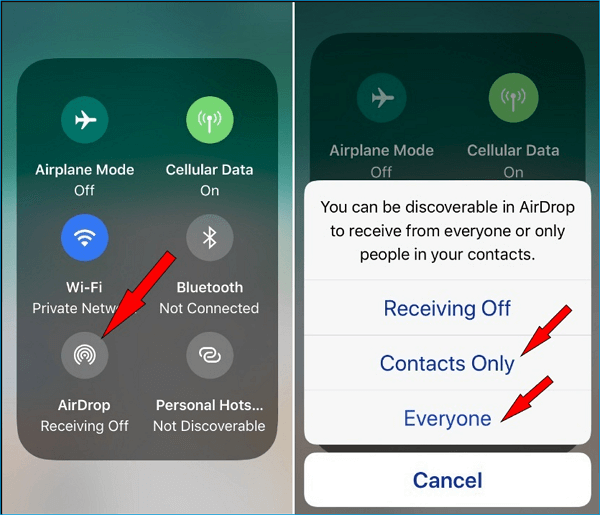
How to download pictures from iphone to macbook air. Just choose a location on your mac and the iphone photos to mac transfer will start off instantly. Click import option and you can choose photos you want to import or click the import all new items to import all iphone photos to mac. Another way to copy photos from iphone to macbook air is using airdrop the built in feature on mac iphone ipad and ipod touch for data sharing between two airdrop supported devices. Click import or import all to transfer photos from iphone to mac.
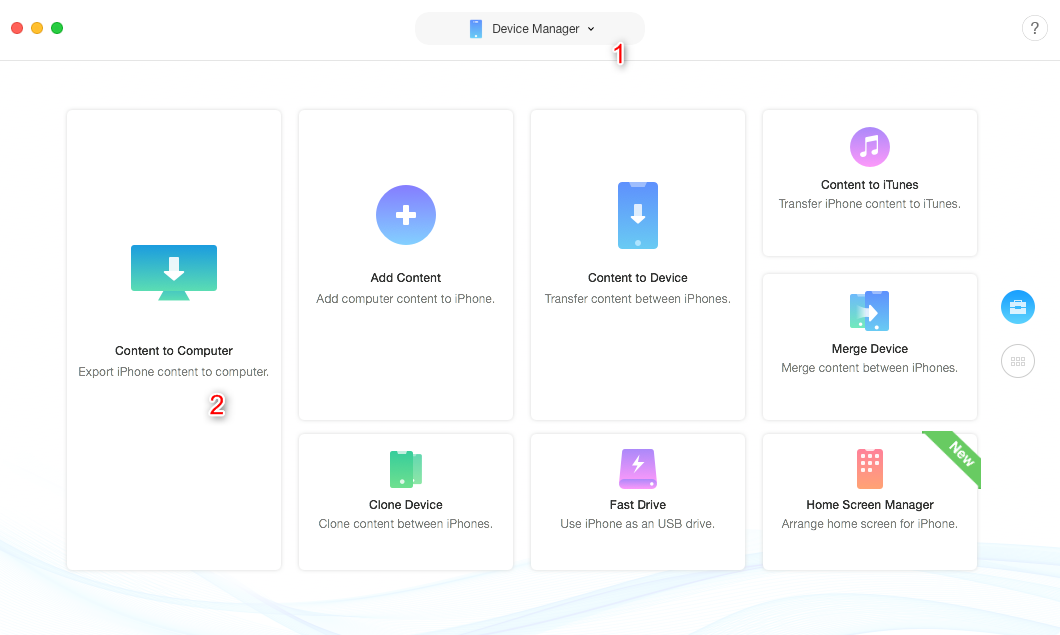
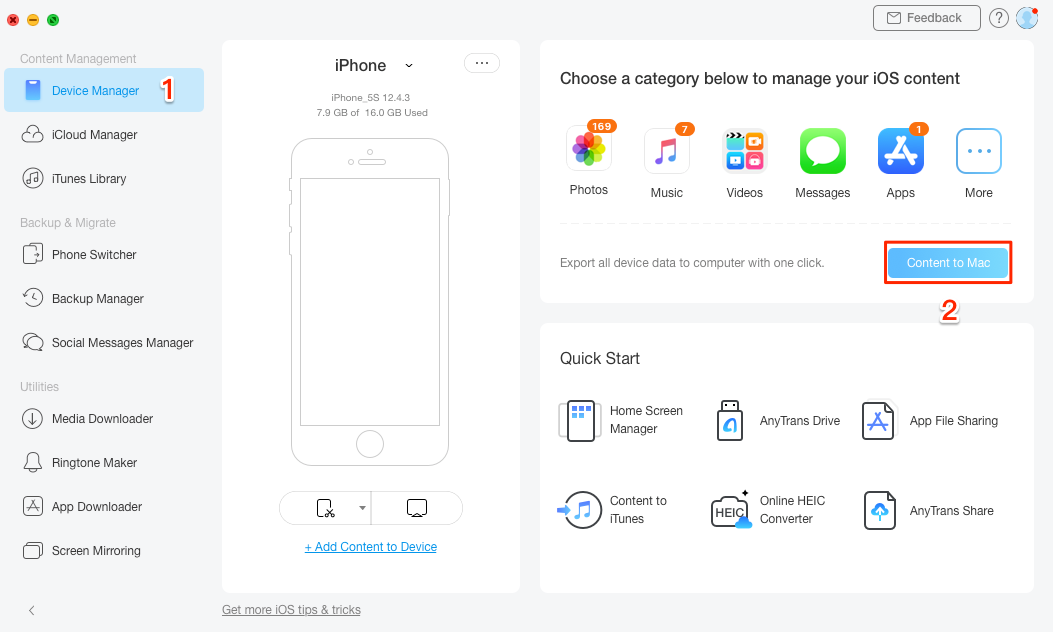
Five easy ways to get your iphone photos onto your mac when it comes to importing photos you took on your iphone you have plenty of options. To move iphone photos to mac click photo transfer button on the main interface of the iphone photo manager. Connect your iphone to mac with usb cable run image capture on your mac. Transfer iphone or ipad photos using photos app.
Using the photos app 1 connect your iphone to your mac. Users who are running an older version of the mac operating system may not have the new photos app but the older iphoto instead. Select the album and choose the photos you want to transfer to macbook. After you have selected all the photos you need you can hit the export button on the top menu to bring out the path choosing dialog.
Now you can see camera roll photo stream photo library photo share albums etc. Plug one end of the iphones charging cable into the iphones charging port then plug the usb end into one of your computers usb ports. What you need to pay attention to here is that mobimover need wlan and bluetooth to work thus make sure there is nothing wrong with these two features on your devices. Note that the steps are almost identical to import your iphone or ipad photos to your mac using iphoto or the new photos app.
How To Transfer Photos From Iphone To Mac The Ultimate Guide

How To Transfer Photos From Iphone Or Ipad To Mac
How To Transfer Photos From Iphone To Macbook In 1 Minute

How To Transfer Photos Video From Iphone To Macbook Air Pro Or Pc Wirelessly
How To Transfer Photos From Iphone To Mac 7 Ways
Guide How To Transfer Photos From Iphone To Macbook Air In 3

Iphone 8 Camera Roll To Macbook Transfer Iphone Camera

How To Transfer Photos From Iphone To Mac 7 Ways

How To Transfer Photos From Iphone To Mac Fast Easy

Listen With Apple Podcasts Apple Support

Transfer Photos And Videos From Your Iphone Ipad Or Ipod Touch

How To Transfer Import Contacts From Iphone To Mac
How To Use Airdrop To Share Files Between Macs And Ios

Use Continuity Camera On Your Mac Apple Support

Airdrop Not Working Try These Troubleshooting Tips
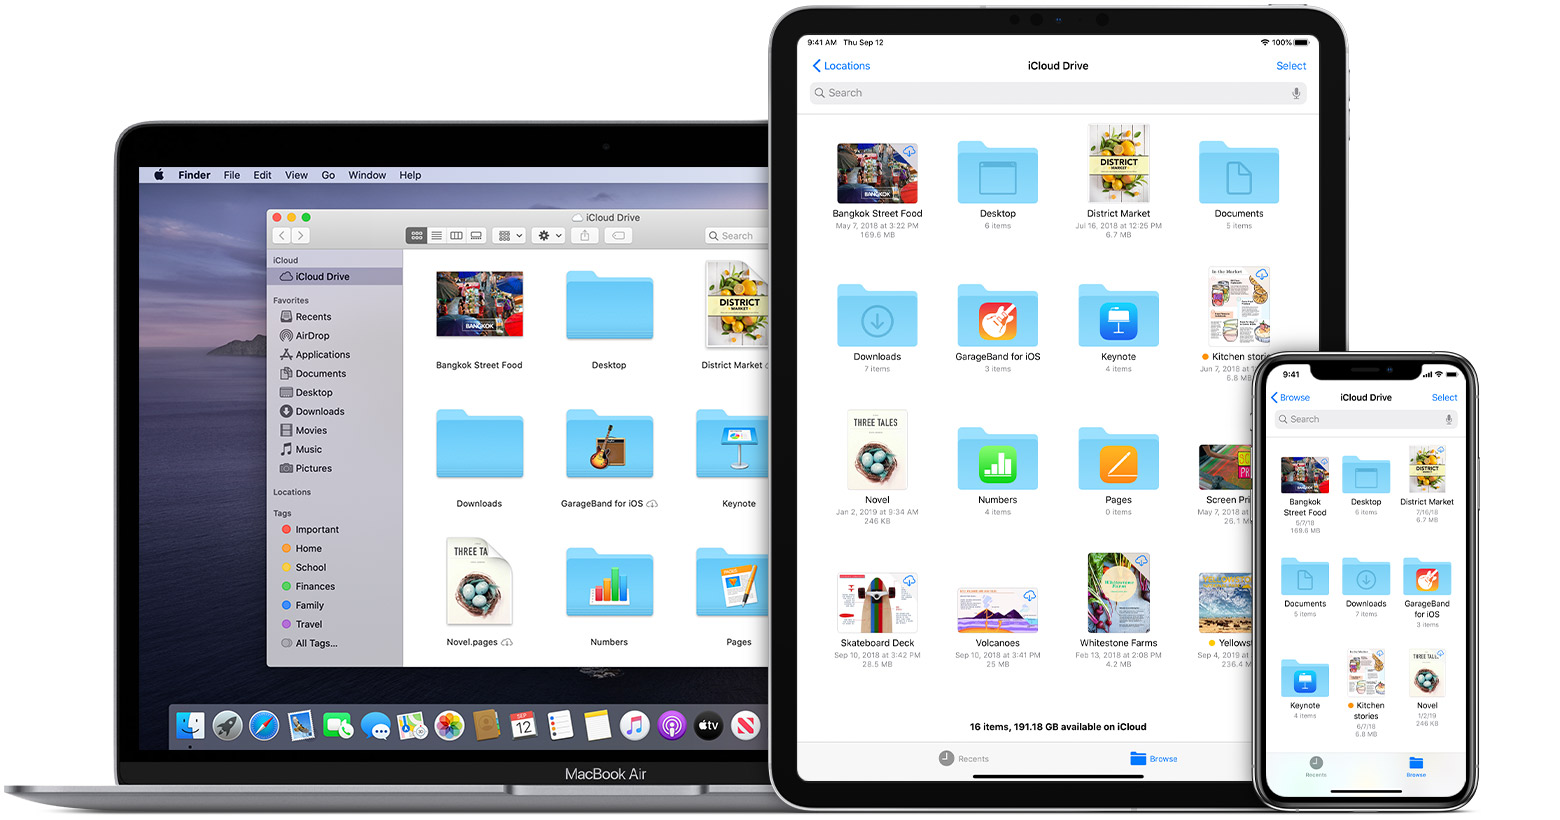
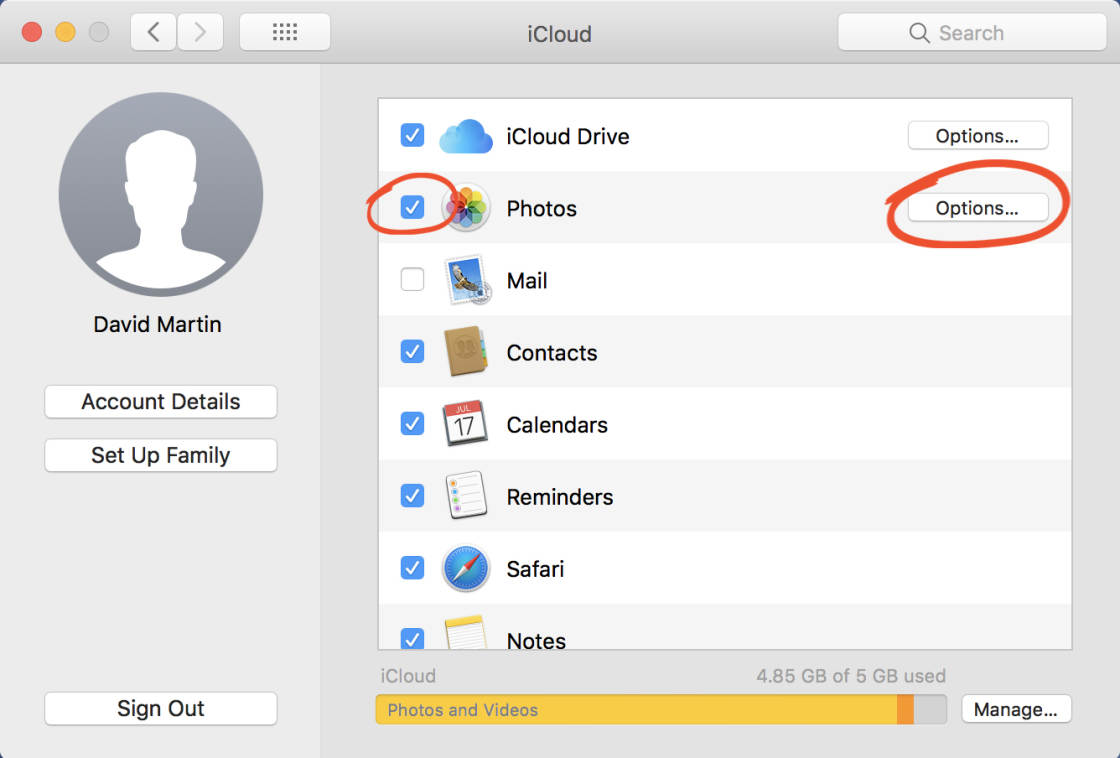
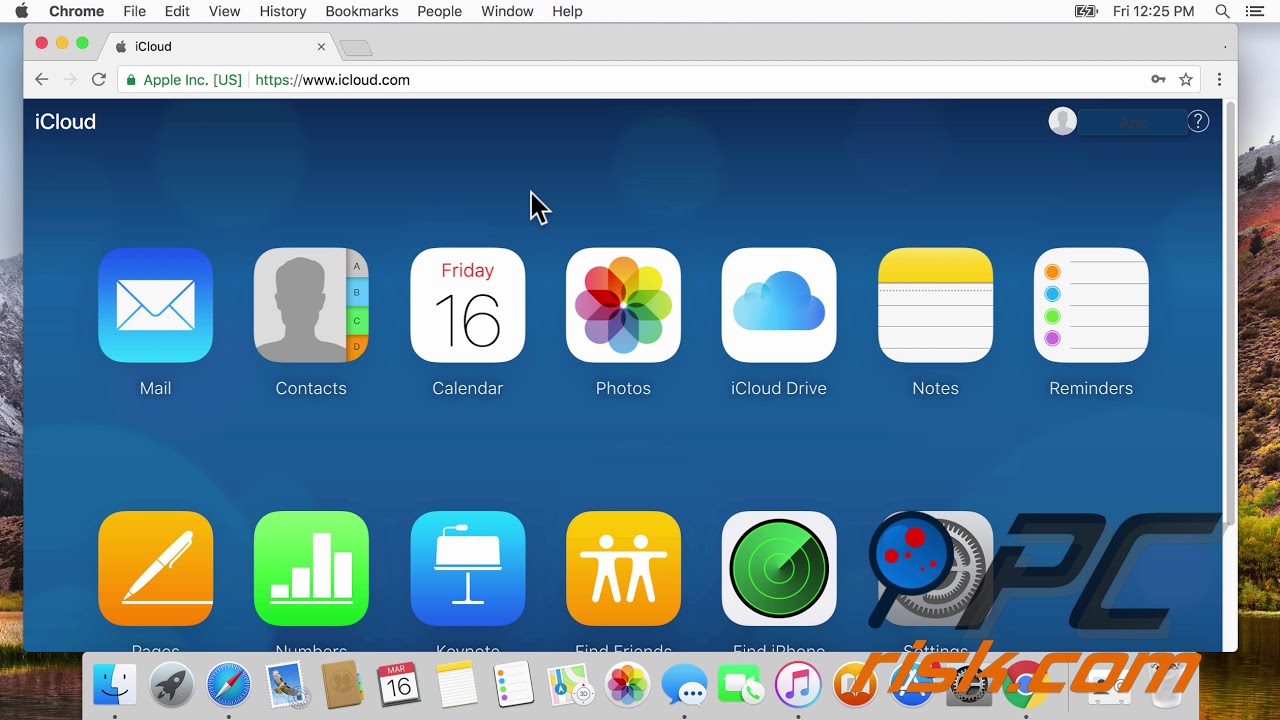
Set Up Icloud Drive Apple Support
2 Tips How To Transfer Videos From Iphone To Macbook Pro Air
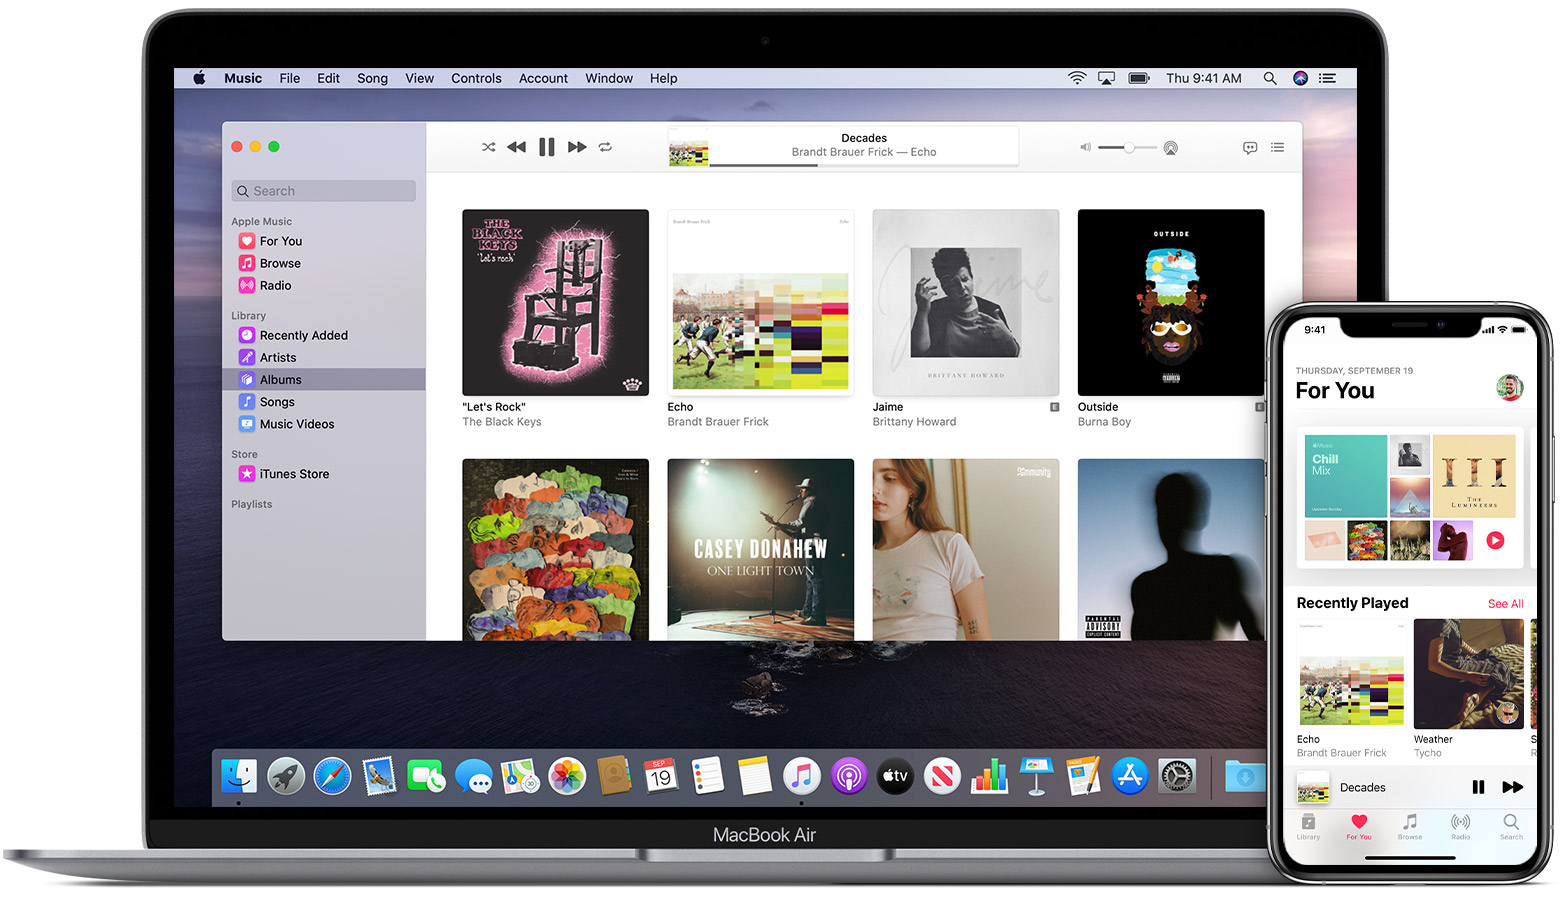
Join Apple Music On Your Iphone Ipad Ipod Touch Mac Or

Facebook App On The Apple Iphone Ipad And Macbook Pro
How To Transfer Photos From Iphone To Mac 7 Ways
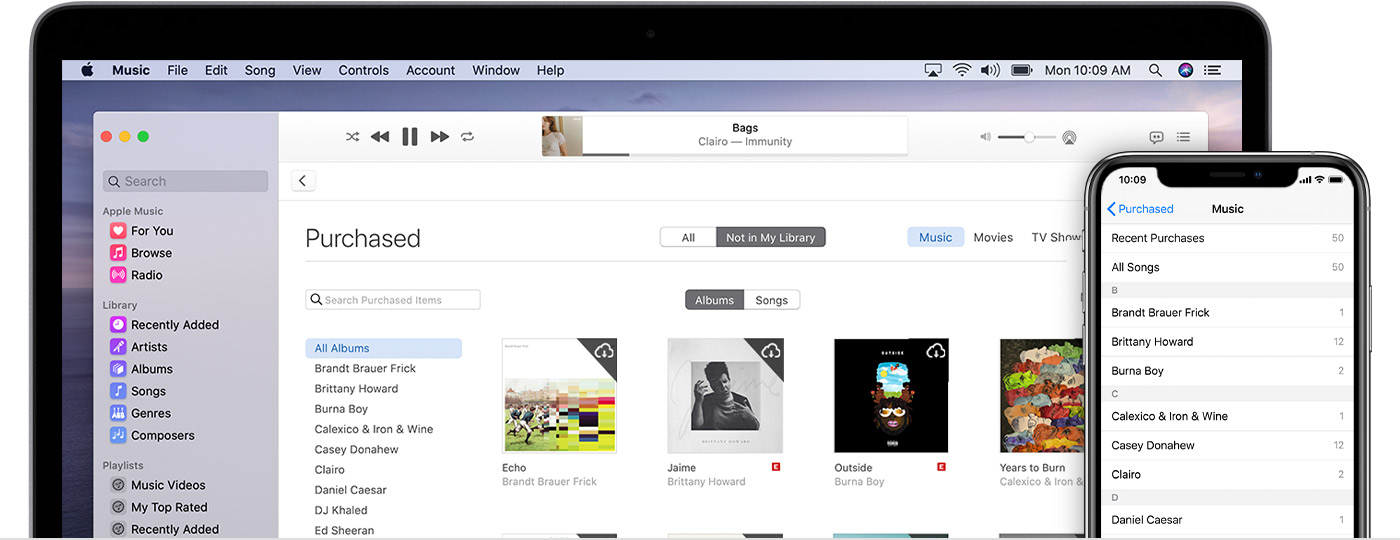
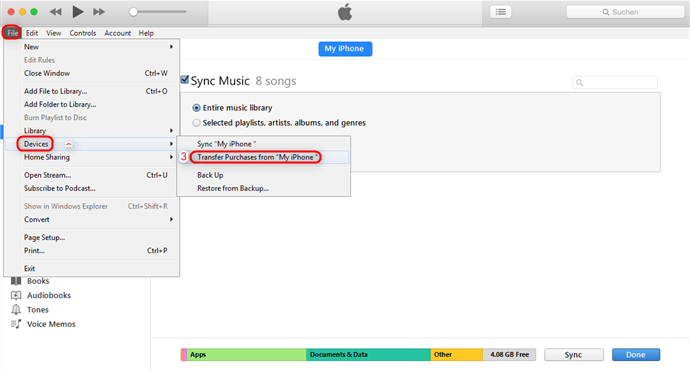
Redownload Apps Music Movies Tv Shows And Books Apple

How To Transfer Photos From Iphone To Computer Mac Pc
How To Import Contacts From Iphone To Mac
2 Quick Ways To Transfer Music From Iphone To Mac Imobie

Import Photos From A Camera Or Phone Using Photos On Mac

How To Sync Your Imessage History And Attachments To A New